Showing posts with label DIY. Show all posts

Saturday, April 13, 2013

DIY Newborn Photography

So, I've already posted a few tips and tricks to doing your own maternity photos. But now that your baby is here, it's time to think about capturing those moments when your itty bitty is still itty bitty. It won't last long! If you splurged on your maternity photos and don't have the funds to host another professional shoot, take matters into your own hands. It CAN be done, and it can be done for a reasonable price. I am still a huge supporter of professional photographers and I strongly believe that the expense is well worth the investment, but when you simply do not have the extra cash lying around, make the most of it and DIY!

Oh, and by the way, I birthed a baby! She's officially here and you can read all about it by clicking here.

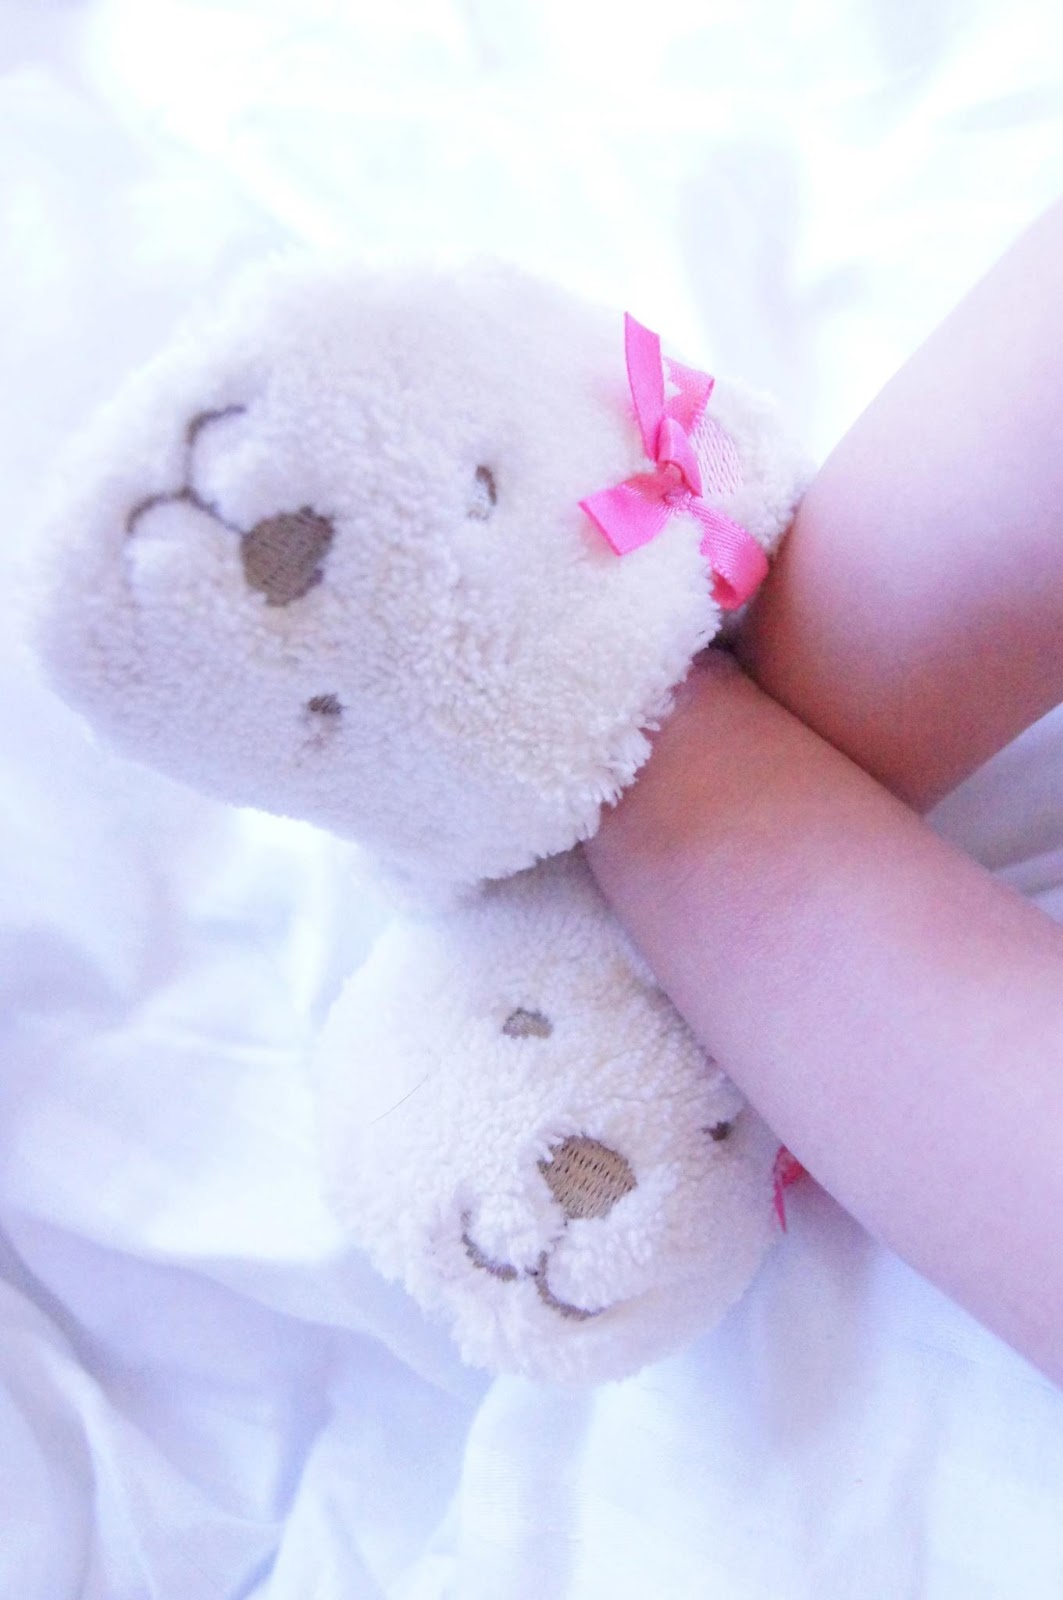
My sweet baby is so easygoing and having her first photo shoot was a pleasure. She loved getting dressed up in her tutu, pearls, and head accessories. It went well, but I did do some research before delving into this little project. Here are the tips that I found for doing your own little photo shoot:

1. Feed your baby until she's milk drunk. Nice and full is the key. Wait about 10 minutes, the change the diaper. {If you want to take naked pics, take them first and FAST!}
2. Make the room very warm, like 74 or higher.
3. Set up all your goodies before feeding and diaper changing.
4. Have a big soft bed or cushiony palate ready. Put a Boppy pillow underneath a big, neutral colored blanket so that your LO can be propped up real nice.
5. Look at Pinterest for photo ideas and then come up with your own spin on them. I get tired of seeing the same crocheted hats on babies. They all look the same! Take your baby's personality and
add his or her own flair! Or create a personality for her, since you know, she's only 12 days old. I love putting U of L {for those of you living on the moon for the last month, the Louisville Cardinals won the NCAA Championship and I couldn't be more excited about it. Go Cards!} stuff on her, but instead of buying a bunch of team onesies or outfits, we did a little black and red tutu {compliments of the MIL} and I got the cutest black and red headband to match. It screams CARDINALS without actually saying it, you know?
6. You need a friend or lover boy to help you. Have neutral colored backgrounds ready for them to hold up so that you're not capturing Sparky in the background licking his butt at the same time you're  trying to capture a sweet baby moment.
7. Take some pictures while she's sleeping and some while she's awake. Both are cute and fun! And don't delete the outtakes! Those are hilar!
8. If at first you don't succeed, try, try again. You don't need. 55,000 perfect pictures. Get a dozen or so great ones, and you'll be just as happy them!

Here are my faves. She's such a diva. I'm smitten.


Monday, March 18, 2013

DIY Maternity Photo Shoot

Maternity photographers are VERY good at what they do. There is no question about that. I love seeing the gorgeous shots that they are able to catch and I am definitely an advocate for supporting photographers. With that being said, true professional photography sessions are expensive, and rightfully so. The time it takes alone to retouch photographs to get them just right is worth as much as they charge for the whole package. Seriously. But with diapers, daycare, car seats, clothes, cribs, bottles, boogie wipes, and the endless list of baby gear that continues to grow {well after you think you have it all} - paying for yet another expense is stupid scary. If you have the money to spend on professional photography - definitely do it. No question about it. But if you truly just do not have the funds - like poor me, then you can host your own photography session and still get gorgeous pictures! Even some of the less expensive cameras can produce quality pics that you can retouch using regular ole' software, like iPhoto. Google is your friend. Use it. I got the DIY maternity photo shoot by using it. Shameless! This post by Lindsey from The Accidental Wallflower was a HUGE help in getting me started in the right direction.

Pinterest is your friend, too. And if you are one of those people that have been living on the moon for the last 2 years, discovering Pinterest should be your #1 priority - after reading this post, of course. I spend many o'hours wasting time on Pinterest. Sometimes, however, I become productive and take some of the things I've seen on Pinterest and put them to use. Case in point: my wonderful DIY Maternity Photog Board. I was able to steal borrow some of my favorite poses that I found and use them during my own photo session {during which I had a dear friend take the photos using my Sony DSLR camera - an investment EVERY new parent should make}. Below are some of my maternity photos from my el cheap-o DIY photo session. I edited most of them using Photoshop {and FYI...I'm by NO MEANS a Photoshop expert - and again, this is where Google comes in handy}, but some of them I edited just using iPhoto - so that you can see that you don't need fancy software to get your pics looking like you want them to look. Another good, less expensive photo editing option is Photoshop Elements, software that you can download for about a hundred bucks and can be used by the dummiest of dummies out there with a little patience. Photo editing software is a great investment because you know you will ALWAYS want to take pics of your babies and you will ALWAYS want to make them look better than your neighbor/sister/friend's photos. You know it's true.


So, don't panic if you're newly pregnant, short on cash, and you know you want to have some awesome maternity photos taken. This is also my plan for my birthing photos. Which may or may not end up being a great idea. More on that later.

19 days and counting until my little angel makes her debut!


Saturday, March 16, 2013

Ready or Not!

I finally have a mommy blog! Nerd alert! I'm so excited to share and steal some great mommy ideas with the world. First and foremost, I am creating this blog to have a beautiful written record of the good, the bad, and the wonderful that I will inevitably go through as a new mommy.

My unborn daughter, Olivia Reese, is due any day now. I hope. Ok, not really. Any WEEK now. I know I shouldn't rush her arrival and I certainly do not intend on being induced - but O.M.G. I am SO EXCITED to meet this little child!!! I am officially 37 weeks pregnant today, so Olivia, sweetheart, you can TECHNICALLY go ahead and come out and be just fine. No one will be mad. Especially your dear old mother.


First up for discussion - nursery design. I had a major meltdown when I first went shopping for Baby O. I had no idea where to go first or what to buy or what the heck any of that stuff was. {Nursing butter?! Boppy pillows?? Diaper Genie? Do I get a bumper or leave it out?? Which theme is cutest? What's safe - what's not safe? AHH!!!!} I literally sat down and cried on one of the display beds in the middle of Babies R' Us and called my mommy. True story. It's so overwhelming. And I had all of these ideas running through my head of how perfect the nursery should look - thanks to Pinterest. Let me just tell you that REAL nurseries DO NOT look like this:


If someone says, "Oh, but MINE does", they're a boldfaced liar. Ha! But I will tell you that getting the nursery to look at least somewhat like you envisioned is possible and you can do it for a reasonable price. Here are some realistic tips:

1. Take whatever your family is offering you. Families - especially GRANDPARENTS - love to spoil their unborn grandchildren. And they love to help you. So let them. As if I really needed to put this tip out there.

2. Go to Target. Target has GREAT baby furniture at a very reasonable price. Buy the crib that converts. It's just silly not to. Buy bookshelves and other furniture that can be used later, when your baby is all grown up, making more money than you and not sharing it. You'll need it then.

3. Don't buy expensive artwork that you will only use for the first few years of the baby's life. Instead, go to Etsy and buy downloadable files from artists! Then have Zazzle.com print them for super cheap. I made my own prints since I am a graphic designer turned teacher, but lots of great graphic designers out there put their stuff on Etsy and sell them for much less than what you'd pay at an art gallery or a retail store. Here are some of the prints I did and had printed at Zazzle. I spent $8.00 on getting these printed and then $45 for the frames. That's $53 for a whole wall of art!!!


4. Don't junk up the room with all the "extras" that come with those sets. But a comforter set, but then look elsewhere for little things like books, stuffed animals, and little trinkets to jazz up the room. It's cheaper AND cuter. Here's the set I bought, along with some of my finds that didn't come with the set, but ended up working just fine:


5. Last, if you can't find anything you're looking for - DIY! I did the little yard-wrapped O for less than $10. Pinterest has a gazillion DIY crafts on there that have step-by-step instructions for creating cuteness. For this one, all you need is some scrapbook flowers, yarn, a wooden or paper mache letter, and some accent pearls or whatever you see at Hobby Lobby that looks appealing. Wrap, decorate, and done. And if you want to know how I did this - hot glue. That's all that needs to be said.


That's all for my first post. Hope you've enjoyed this first edition of "Emily Goes to Mommyland." I'm sure future posts will include boogers, poop, and fun tales of mommy failures.

I'm linking this DIY project up with: